It was so wonderful having my children and husband home for the holiday. It was a relaxing time filled with much love, food, family and friends. Just the way it should be.
Now they are back at work and school respectively. So it is time for me to focus back on my work. Time to think about the year ahead and what it is I wish to accomplish. First off, I need to start with an organized room. I know this may seem silly to some since all I am going to do is make a mess of it, but starting with a clean room is like starting with a clear head for me. One must get all the cobwebs out if one is to create beautiful things.
I found that when I was getting ready for my first sale last fall, that my craft room exploded to include the dinning room and living room. Very messy and very hard to have people over and not be slightly embarrassed. To remedy this, I purchased a secondhand dinning table to add to my room and hopefully keep my projects contained. Well, at least the messy ones!
Here are a few photos of my craft room.
This is of course my desk. Yes it is from Ikea for those who are wondering. We have had these shelving units for years. They have moved with us and we have used them in many different configurations. The cart is new and I love that I will be able to move it around the room as needed instead of getting stuff out and not putting it back. Their home travels with them, kinda like a turtle.
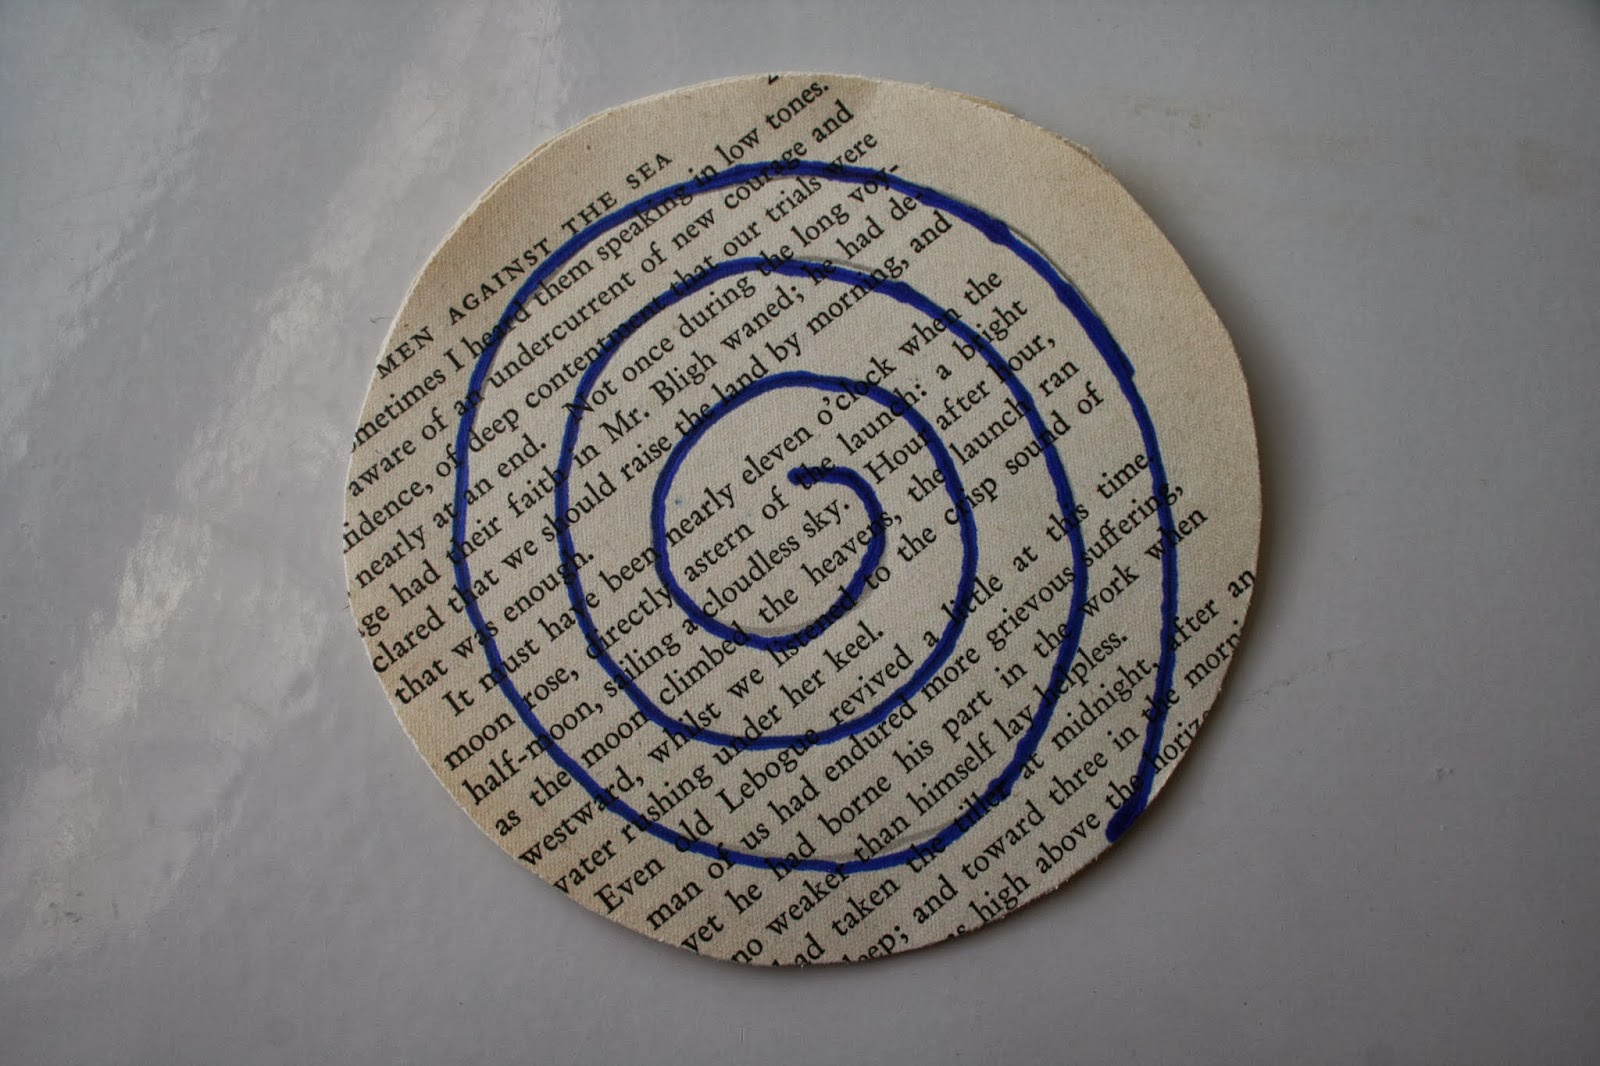
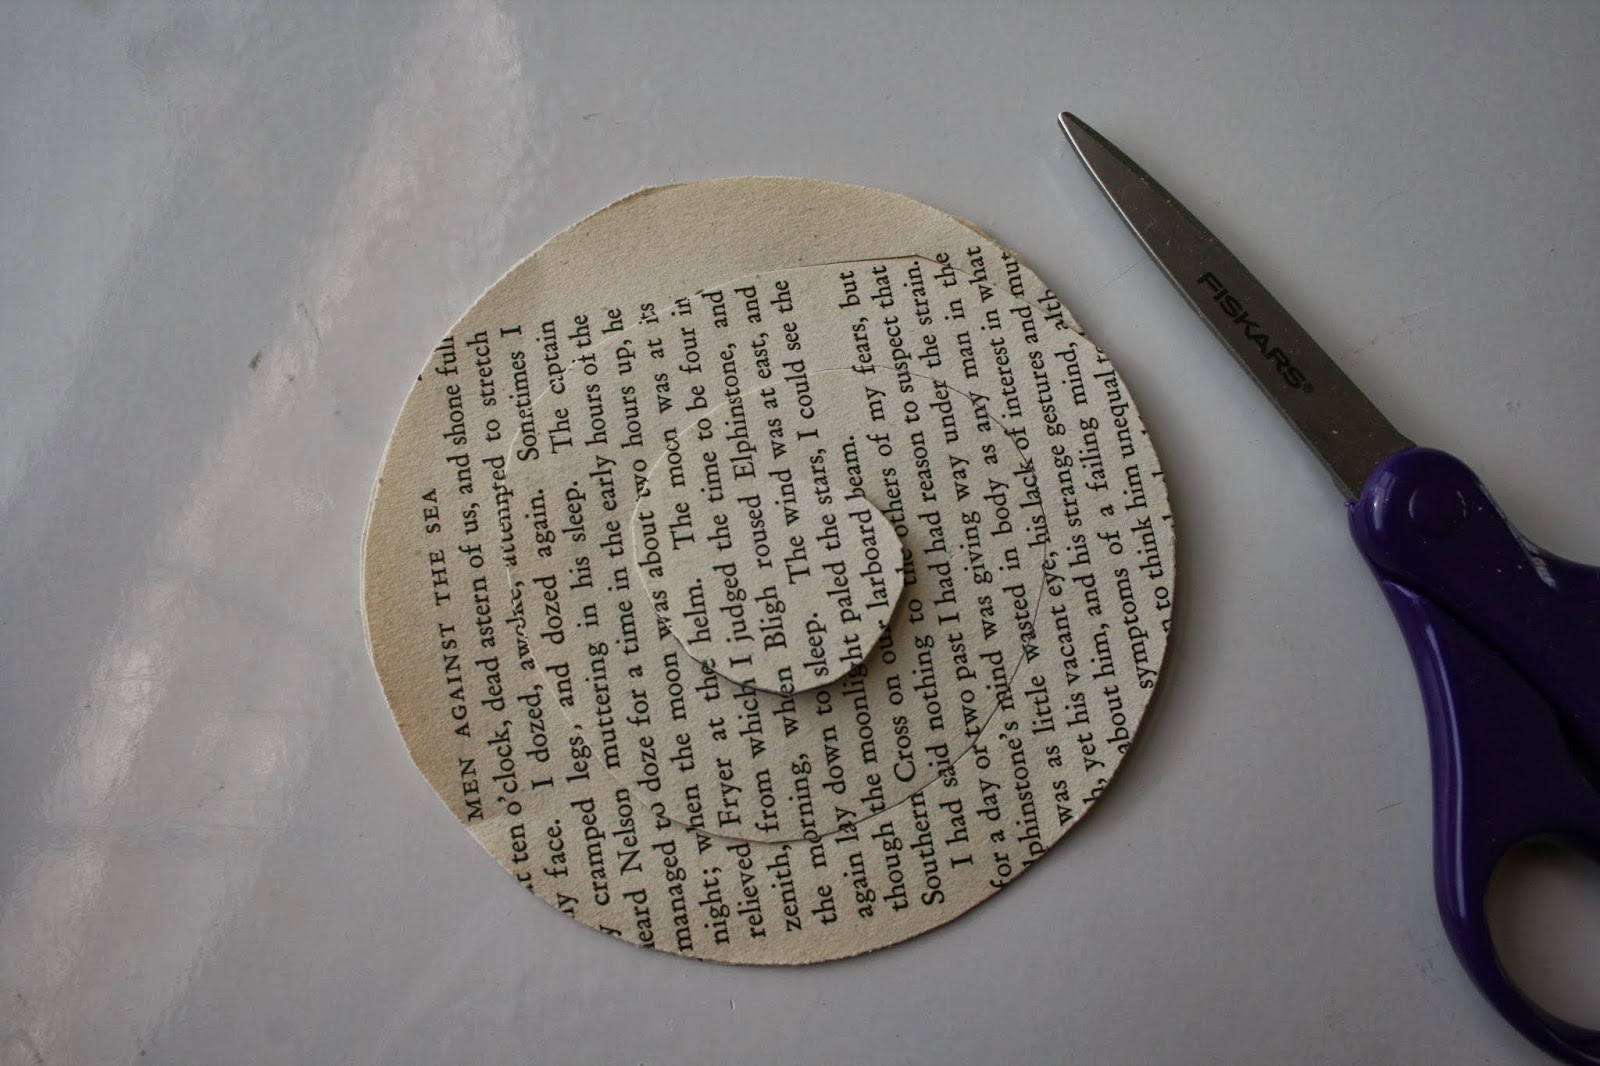
This is my little library corner. (This table used to be my only work surface.) Here supplies are organized and my books to be worked on are on display. I'm happy to have been able to give the blue prints of my house a home here. I like the look of it with all the old books. I hope to be able to work on my paper roses here.
Here is my new table, waiting for a project. It is approximately 8 feet long and absolutely perfect for crafting. You may be wondering what kind of weird art I found for above the table. Well it is my new magnetic memo board.
Isn't it lovely! I made this from the old paint lids leftover from painting the house. The board I found in a closet. I think at one time it was part of a shelf. I just glued the lids on the board, added eye hooks and picture wire to the top and that's it! The knob was there from the old memo board that was there. I decided to keep the knob and move the much smaller board to the kitchen. I can't wait to fill this up with project ideas and inspiration.
The last part of my room that I would like to show you is my bistro set.
No room of mine is complete without a comfy place to have my tea! In the summer I like to move it outside to the balcony. But since it is winter here most of the year, this is where it usually is. The light coming in the window is always heart warming.
I hope you have enjoyed taking a peek at my creative space. I wish to spend more time here this year making beautiful things from discarded items. Check back often to see what it is I'm up to or enter your email address to get a message whenever there is a new posting. (Tip: you don't always see the spot to enter it on mobile devices. Select full view, it's on the right)
Thanks for stopping by,
Betty
Showing posts with label decor. Show all posts
Tuesday, January 6, 2015
Friday, October 31, 2014
Evergreen Artisan Market
The Evergreen Artisan Market is only a week away! I have been extremely busy designing and building my display, and making product to fill it. Since this is to be my first time selling my crafts I have little idea of what will sell. So I am trying to have a variety of things at different price points. One of the hard things for me is to know when to stop. I have lots of ideas in my head but there is definitely no time to make all of them.
My crafts have taken over my house. Things are very messy but with the show getting closer I hope to shift my focus to finishing projects and cleaning up. Everything needs to be packed up so it can be taken to the Rawlinson Center to set up next Friday. Wow, November 7th is coming fast.
Here are a few pictures of more products and a peek at the display I have set-up in my dining room. This is not how things will be at the show but it gives you an idea of what I've been working on. If you are on FaceBook and/or Instagram follow me there for updates from the Evergreen Artisan Market.
Fireplace
It has proven difficult to get good photos of my fireplace but here is a close-up before/after picture for you. I am very happy with the way that it has turned out. I can't wait to decorate it for Christmas. I have lots of ideas. I will try to get lots of pictures.
It
Monday, September 15, 2014
Fireplace Makeover
I've been spending some time on Pinterest lately looking for inspiration to update my stairs. That's when I came across this image from thisoldhouse.com.
Our fireplace already has a draft stopper installed so this should be easy! My husband is always eager to help me with my projects when they involve wood and the outdoors. He was excited about the project so we all piled in the car to go look for some logs. (Yes, his eagerness did surprise me as some projects go months or more without interest. Best not to question and just enjoy!) We found some great birch logs that had already fallen down but weren't rotting yet. My husband has been busy cutting them up and I have been busy painting.
I was starting to think that this project was going to be completed soon when my husband informed me that the wood is still a little wet. So we should let it dry for a couple of WEEKS. Yes, weeks, I was not ready for weeks. I'm going to get everything else ready and paint the stairs. When I'm ready to put everything back, hopefully the logs are dry enough to attach.
Here is a picture of our fireplace before to give you an idea of what I'm talking about. The green semi-circle is the draft stopper that I am painting black and attaching the logs to. The brick is now white so I think it is just going to look fabulous!
Saturday, February 15, 2014
Having a Hoot of a Time
I hope everyone had a wonderful Valentine's Day! Mine was nice and relaxing and of course, full of love. This past week here has been very cold (-40C) and snowy. This has made for lots of knitting time. In honour of St. Valentine and my daughters love for owls I made these cuties to brighten their day. They are similar to the green guy I made last year. These guys are much larger as they are made with chunky yarn but the same construction. For you knitters, they are like a little hat turned upside down, stuffed and sewn closed across the top. The eyes are crocheted circles and the beak is just a little yarn stitched over. Pretty simple and fun to make. If there is interest I will work on an instruction sheet. Enjoy the rest of your weekend!
Tuesday, February 4, 2014
MY NEW WREATH
My New Paper Rose Wreath
I am so pleased with how my wreath turned out! For my first one I think it is awesome. I should have been more patient and added a few more roses but I don't think anyone will notice. I have finally taken down the holiday wreath that has been hanging on the mirror since December. This wreath looks gorgeous in our entryway and makes me happy to look at it hanging there.
For how to make the roses click here and for how I made the wreath click here.
How To Make Paper Page Roses
HOW TO MAKE PAPER PAGE ROSES
First you will need some old books. If you don't already have some you can find them at yard sales, library sales (discards), used book stores or from friends and relatives that wish to part with some books. I found mine at the local Value Village store for 3.99 each. Each rose takes three pages so it will depend on what you wish to make on how many books you will need.
When you have your books start by removing the cover. This will make it easier to unbind the pages. If the pages are sewn together cut the thread and pull the pages apart. If you are making a large project keep in mind the type of pages in your book. You will want the thickness and colour of the pages to be similar.
In order to give my roses some durability, I use three layers of pages at a time. You may wish to adjust this as necessary. I have encountered heavy pages were two are plenty. Now that you have all your pages, you will need a round object that fits on your page. I use a lid from a peanut butter jar. Whatever you have handy will be fine. Using a pencil trace the circle and cut it out.
Because I like to make a bunch of roses at a time, I do this for the whole book remembering to cut three pages at a time. This will give you a nice stack of circles. You can recycle the remainder of the pages or I like to punch shapes out of them to make paper garlands.
I have drawn with a marker to show you how to cut a spiral. Start anywhere on the edge and cut trying to keep the spacing even, continue until you have a small circle in the middle. This will be the base of the flower. Below is the spiral I have cut. I don't draw the spirals on, just cut away.
Taking the spiral by the centre circle, you will now glue all the layers together. This is necessary to make sure that the flower doesn't come apart and that you have a nice firm base. I like to use tacky glue for the flowers. If you like, you could use hot glue instead. I like the tacky glue as I am prone to burning myself with the hot glue. So tacky is safer and it gives you a bit more time to shape your flower. I find this extra time comes in handy.
With the centres glued together, find the beginning or outer edge of the spiral.
From here you will roll the paper up tightly. If it gets away from you, just start again. Roll it all up until you get to the centre circle.
Now you have a tight roll. You will see there is a bit of a hole in the centre. Fill it with glue and put a generous amount on the base. You will need lots of glue to make sure your flower petals stick.
Using your work surface, turn the flower over. Push the flower into the glue on the base.
Hold firmly to the centre of the flower. You don't want the centre to unravel. Push down and twist clockwise so that the outer rolls loosen. (Please note that I am left handed so if you roll your flowers the opposite way, you will need to twist then in the other direction.) Twist until you think you have a pleasing flower. Remember don't take your hand off of the centre. If you do the middle of your flower will unravel and you will have to roll it again.
Continue to press down on the middle and make sure that all the petals are in the glue. After firmly pressing for 5 to 10 seconds, let go. You now have a beautiful paper page rose. Let dry completely on wax paper. Once dry it can be used in many craft projects. Enjoy!
Wednesday, January 29, 2014
Rebekah's New Pink Room
It has taken quite a while but my daughter's room is now pretty and pink. The upper part and ceiling are Pink Bean and the main walls are Pinto Bean both Sico colours.
For now a few pics from my phone will have to do. There is still some organizing to do and the closet to paint. It's good to have her out of the guest room though and back happily in her own room.
I replaced the large pink cabinet with a much needed workspace. The desk is an old plywood one that was given to us a while back. I gave it a fresh coat of paint and made a shelf using another piece of plywood. I painted the shelf and secured mason jar lids to the underside ends. I took our shell collection and placed them in the jars. With the jars in place I then added decorative craft tape around the edges. A perfect spot for all those Warrior books she loves so much. Above I hung a magnet board that we livened up with a few stickers.
Removing the large cabinet meant loosing storage space. To make up for this I repurposed some old drawers by attaching wheels to the bottom and adding a new coat of paint. One of the drawers didn't have a handle space so a decorative knob was added.
It has been a lot of work but well worth it. I wasn't sure of the light pink at first, thinking it was to bright and babyish but it looks great. I'm very happy with it and Rebekah loves it so it's a job well done. I will post more detailed pictures once the closet is done.
For now I have a renewed passion for old books. I made the mobile above the bed and have been interested ever since. The creative wheels are turning, watch out!
Subscribe to:
Posts (Atom)