I hope everyone had a wonderful Valentine's Day! Mine was nice and relaxing and of course, full of love. This past week here has been very cold (-40C) and snowy. This has made for lots of knitting time. In honour of St. Valentine and my daughters love for owls I made these cuties to brighten their day. They are similar to the green guy I made last year. These guys are much larger as they are made with chunky yarn but the same construction. For you knitters, they are like a little hat turned upside down, stuffed and sewn closed across the top. The eyes are crocheted circles and the beak is just a little yarn stitched over. Pretty simple and fun to make. If there is interest I will work on an instruction sheet. Enjoy the rest of your weekend!
Saturday, February 15, 2014
Having a Hoot of a Time
I hope everyone had a wonderful Valentine's Day! Mine was nice and relaxing and of course, full of love. This past week here has been very cold (-40C) and snowy. This has made for lots of knitting time. In honour of St. Valentine and my daughters love for owls I made these cuties to brighten their day. They are similar to the green guy I made last year. These guys are much larger as they are made with chunky yarn but the same construction. For you knitters, they are like a little hat turned upside down, stuffed and sewn closed across the top. The eyes are crocheted circles and the beak is just a little yarn stitched over. Pretty simple and fun to make. If there is interest I will work on an instruction sheet. Enjoy the rest of your weekend!
Tuesday, February 4, 2014
MY NEW WREATH
My New Paper Rose Wreath
I am so pleased with how my wreath turned out! For my first one I think it is awesome. I should have been more patient and added a few more roses but I don't think anyone will notice. I have finally taken down the holiday wreath that has been hanging on the mirror since December. This wreath looks gorgeous in our entryway and makes me happy to look at it hanging there.
For how to make the roses click here and for how I made the wreath click here.
How To Make A Wreath With Paper Book Pages
HOW TO MAKE A BOOK PAGE ROSE WREATH
First you need to make the roses. For the how to click here. The size of your wreath will determine how many roses you will need. It is always better to estimate higher than you think. My wreath is a 14 inch compressed foam wreath. I used 116 roses but would have liked a few more. I estimated that I would need 130 roses but got tired and impatient. If you're like me, consider making a smaller wreath.
The wreath form was a bright green colour. I didn't want this to show through so I gave it a quick coat of paint. I used some trim paint that was left over from painting Rebekah's room. To see her room click here. I painted both sides as I know I will be hanging it on a mirror.
Using a glue gun, start glueing the roses on the inside of the wreath. Try to keep them evenly spaced.
Next to the same for the outside.
Now start to fill in around the front. Here you will want to place them closer together so that the form doesn't show through.
Continue filling in the wreath until you go all the way around.
Then step back and look for holes and glue strings. You may have to add roses if you have missed a spot. If you are having problems getting rid of all the glue strings, get your hair dryer out and melt them away. I like to hang my wreaths on a ribbon so no hook is required. If you need a hook you can add a piece of wire to the back and secure with hot glue.
Enjoy your work of art!
How To Make Paper Page Roses
HOW TO MAKE PAPER PAGE ROSES
First you will need some old books. If you don't already have some you can find them at yard sales, library sales (discards), used book stores or from friends and relatives that wish to part with some books. I found mine at the local Value Village store for 3.99 each. Each rose takes three pages so it will depend on what you wish to make on how many books you will need.
When you have your books start by removing the cover. This will make it easier to unbind the pages. If the pages are sewn together cut the thread and pull the pages apart. If you are making a large project keep in mind the type of pages in your book. You will want the thickness and colour of the pages to be similar.
In order to give my roses some durability, I use three layers of pages at a time. You may wish to adjust this as necessary. I have encountered heavy pages were two are plenty. Now that you have all your pages, you will need a round object that fits on your page. I use a lid from a peanut butter jar. Whatever you have handy will be fine. Using a pencil trace the circle and cut it out.
Because I like to make a bunch of roses at a time, I do this for the whole book remembering to cut three pages at a time. This will give you a nice stack of circles. You can recycle the remainder of the pages or I like to punch shapes out of them to make paper garlands.
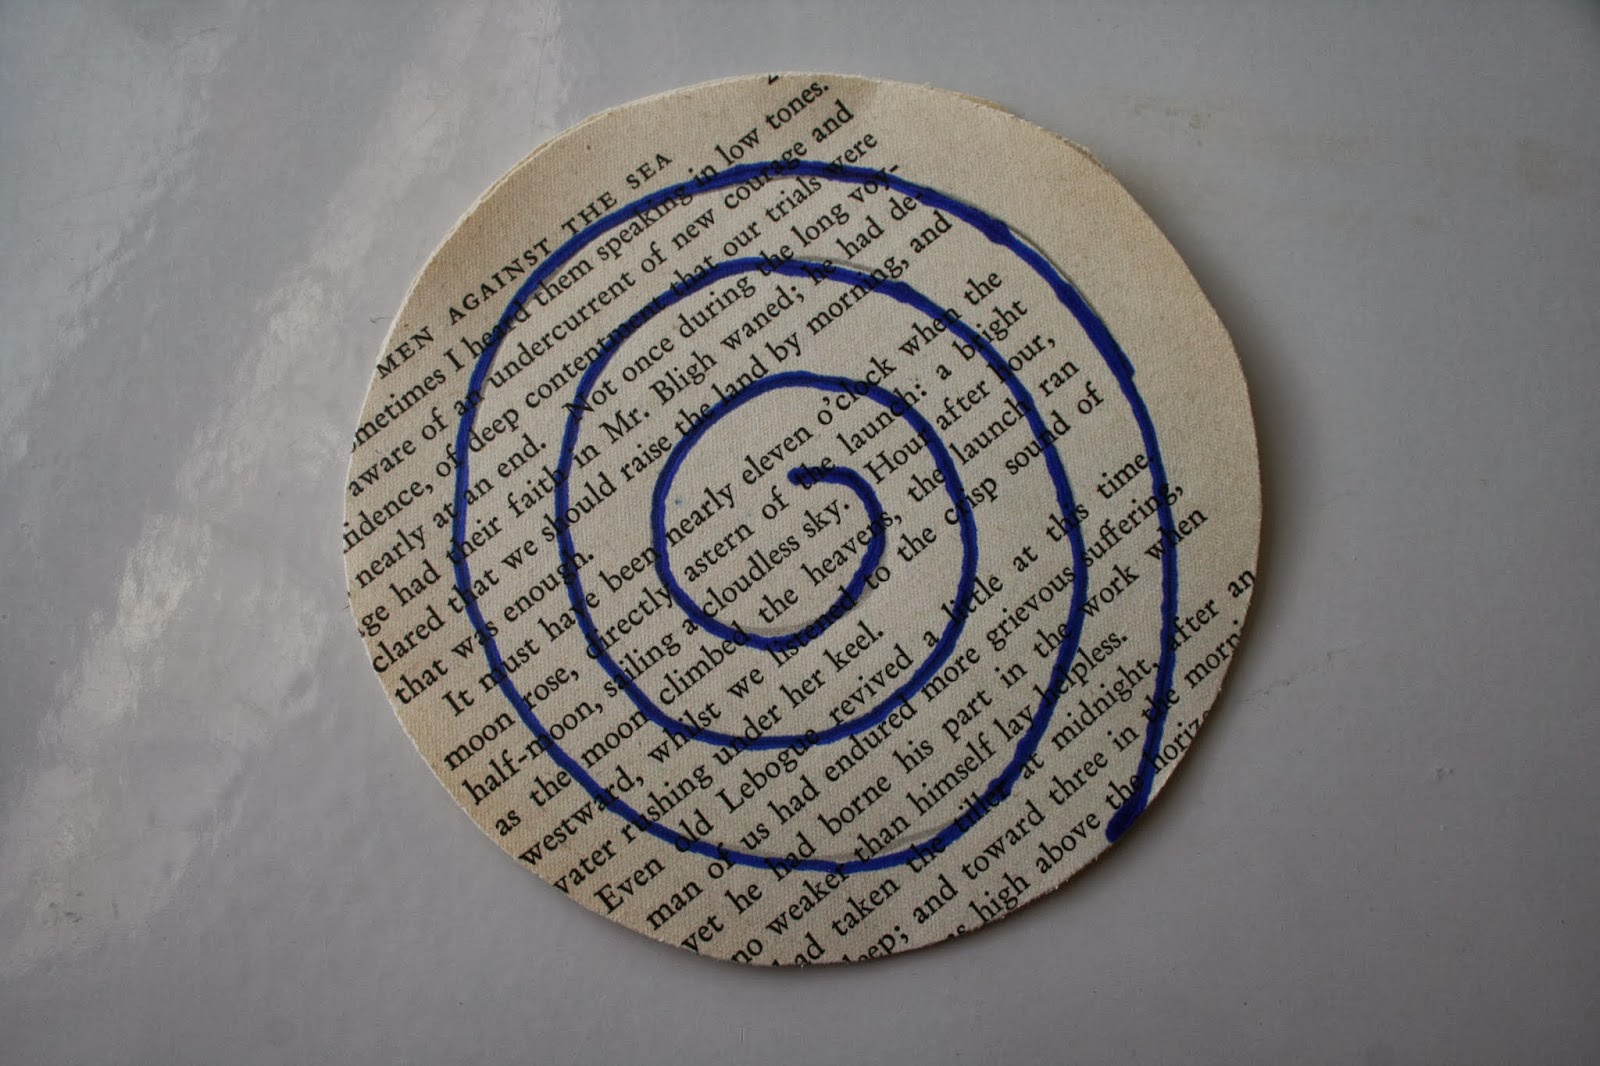
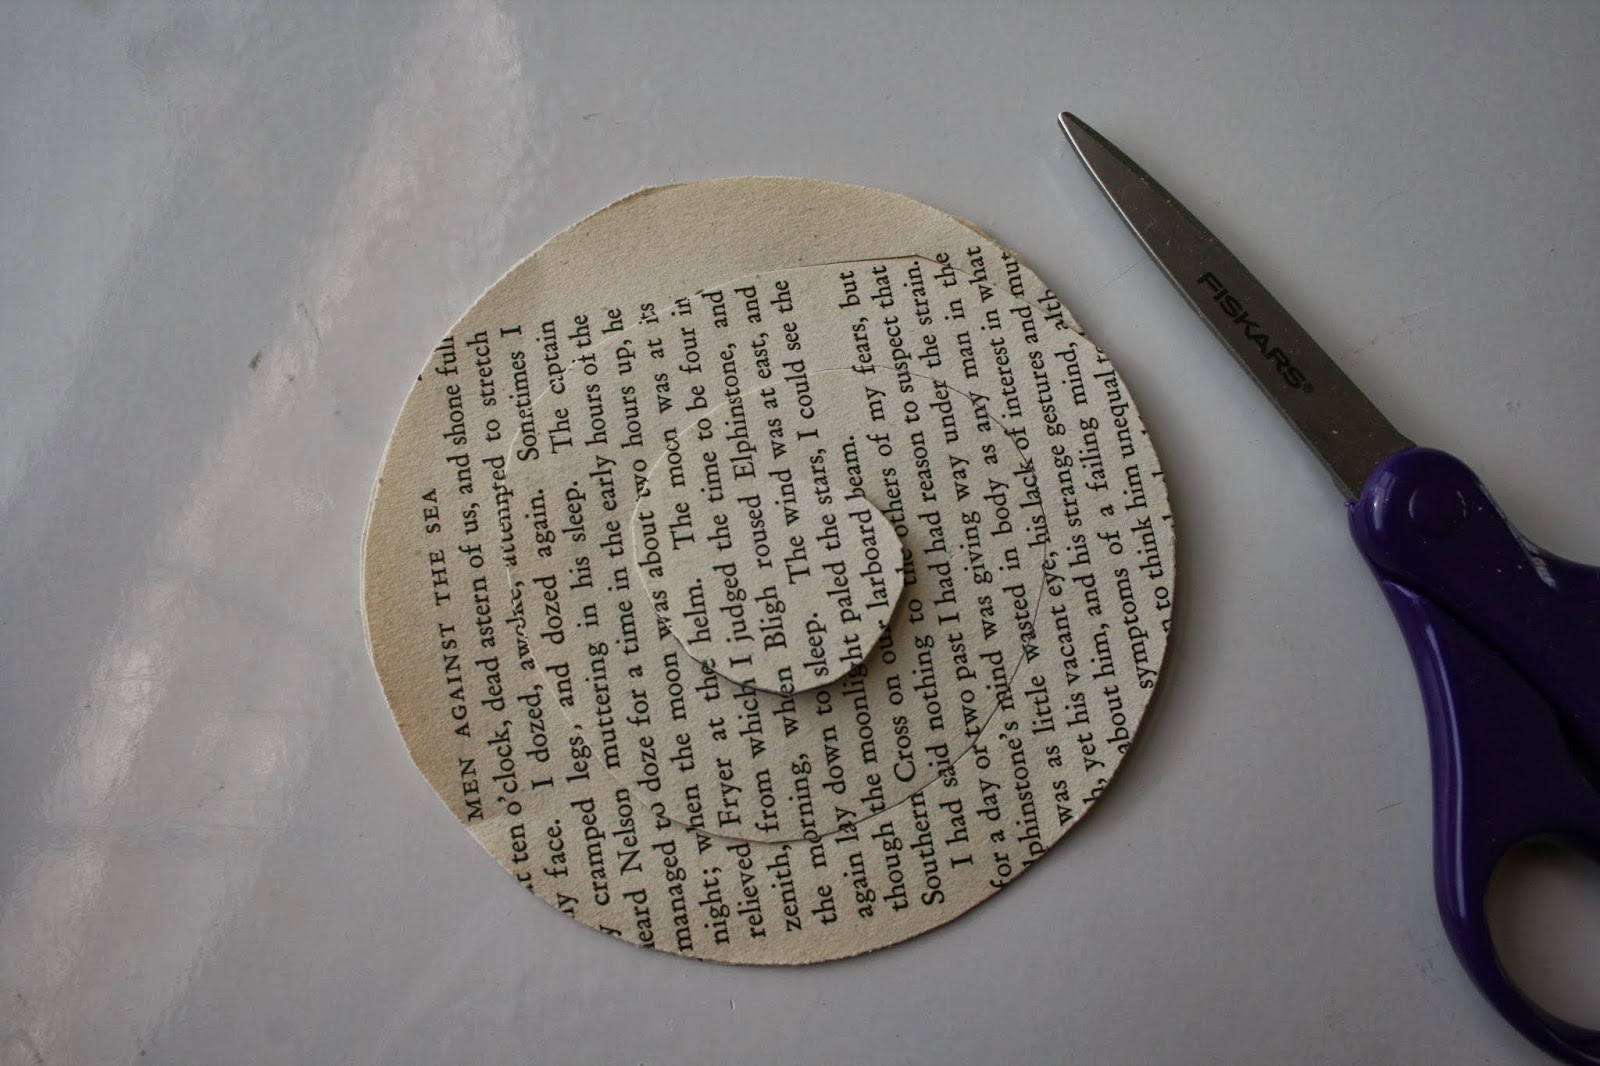
I have drawn with a marker to show you how to cut a spiral. Start anywhere on the edge and cut trying to keep the spacing even, continue until you have a small circle in the middle. This will be the base of the flower. Below is the spiral I have cut. I don't draw the spirals on, just cut away.
Taking the spiral by the centre circle, you will now glue all the layers together. This is necessary to make sure that the flower doesn't come apart and that you have a nice firm base. I like to use tacky glue for the flowers. If you like, you could use hot glue instead. I like the tacky glue as I am prone to burning myself with the hot glue. So tacky is safer and it gives you a bit more time to shape your flower. I find this extra time comes in handy.
With the centres glued together, find the beginning or outer edge of the spiral.
From here you will roll the paper up tightly. If it gets away from you, just start again. Roll it all up until you get to the centre circle.
Now you have a tight roll. You will see there is a bit of a hole in the centre. Fill it with glue and put a generous amount on the base. You will need lots of glue to make sure your flower petals stick.
Using your work surface, turn the flower over. Push the flower into the glue on the base.
Hold firmly to the centre of the flower. You don't want the centre to unravel. Push down and twist clockwise so that the outer rolls loosen. (Please note that I am left handed so if you roll your flowers the opposite way, you will need to twist then in the other direction.) Twist until you think you have a pleasing flower. Remember don't take your hand off of the centre. If you do the middle of your flower will unravel and you will have to roll it again.
Continue to press down on the middle and make sure that all the petals are in the glue. After firmly pressing for 5 to 10 seconds, let go. You now have a beautiful paper page rose. Let dry completely on wax paper. Once dry it can be used in many craft projects. Enjoy!
Subscribe to:
Posts (Atom)


